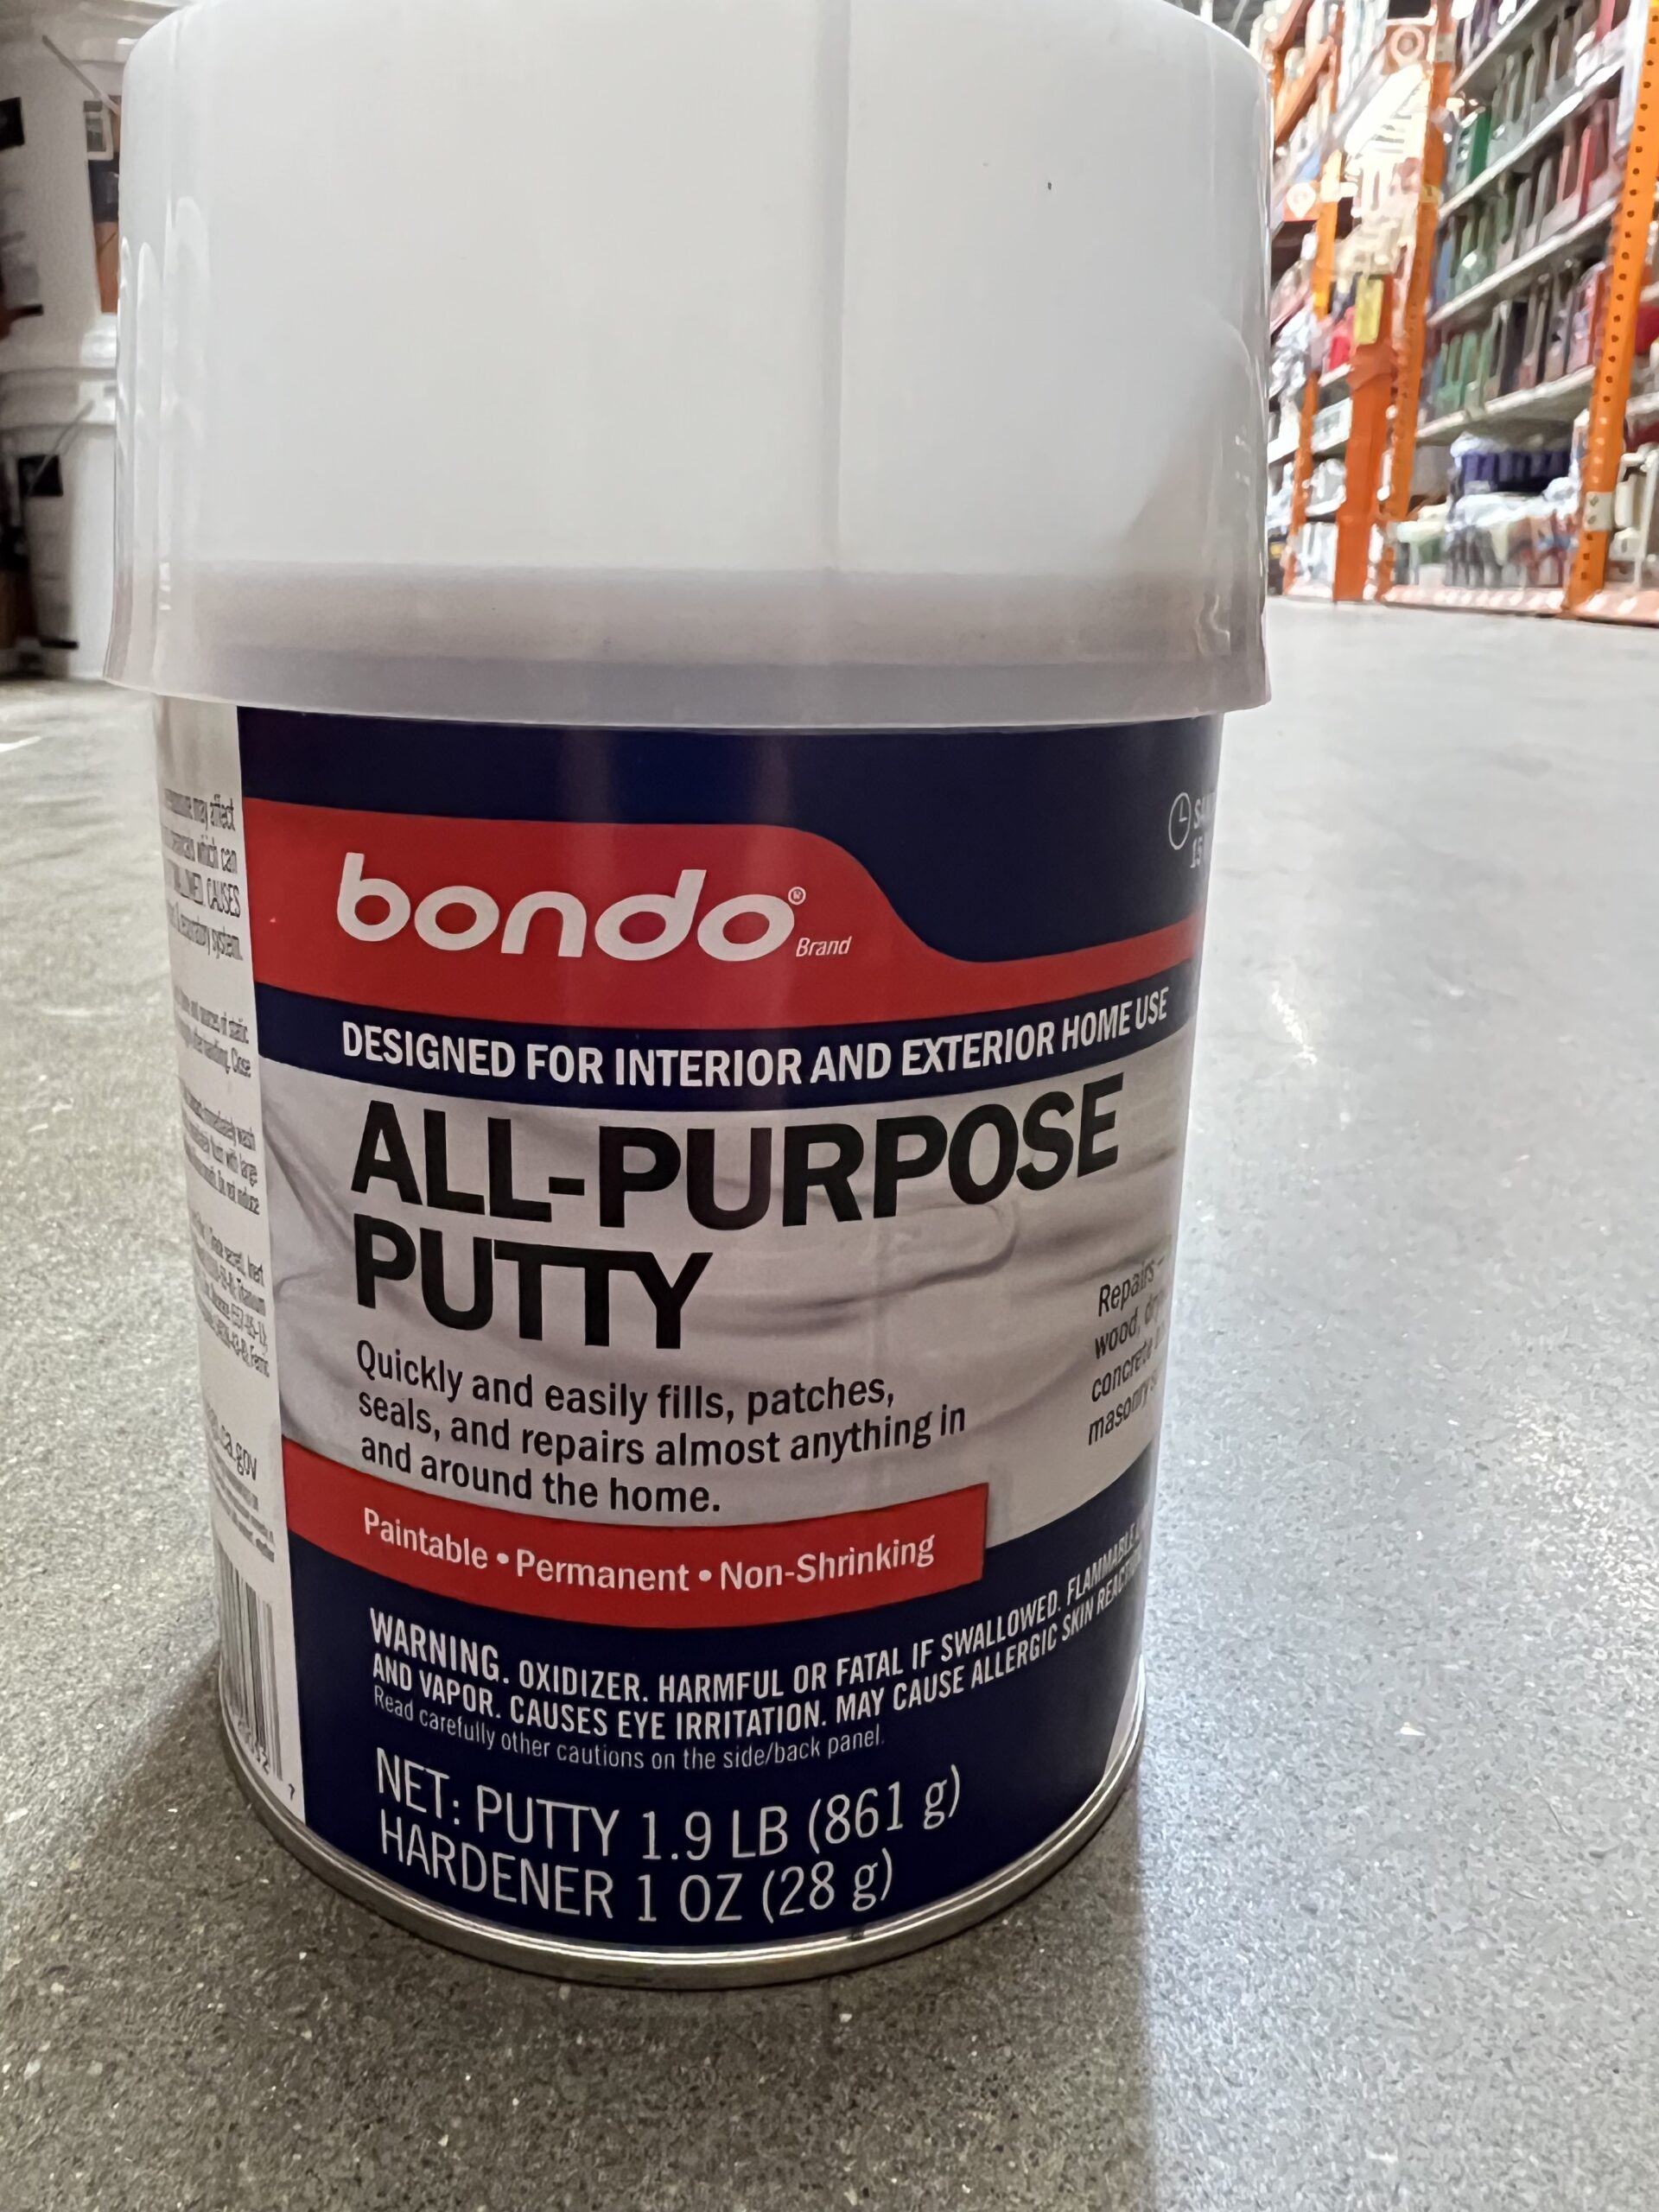
Thinking about fixing up your car's bodywork yourself? You might hear folks talk about "bondo reems" when they mean getting a really smooth, flawless finish with body filler. It is that crucial step in making dents and imperfections disappear, setting the stage for a beautiful paint job. For anyone wanting to learn how to paint their own car, this part of the process is, actually, a big deal.
A lot of people, like your average car enthusiast or someone just starting out with autobody work, often wonder how to make those repairs look invisible. The right way to handle bondo, or body filler, can save you a lot of headaches later on. It's not just about slapping it on; it's about making sure it sticks right, smooths out perfectly, and doesn't cause trouble down the road.
This article will take a close look at how to get those ideal results, covering everything from preparing the metal to applying the filler itself. We'll explore common questions, share some practical advice, and help you understand how to achieve that professional look right in your own garage. So, are you ready to learn the secrets to truly great bodywork?
Table of Contents
- Understanding "Bondo Reems": More Than Just Filler
- Why Proper Bondo Application Really Matters
- Preparing Your Surface for Bondo
- Applying Bondo: Tips for a Smooth Finish
- Dealing with Bubbles and Break-Throughs
- Frequently Asked Questions About Bondo
- Ready to Tackle Your Next Autobody Project?
Understanding "Bondo Reems": More Than Just Filler
When we talk about "bondo reems," we're really talking about the art of using body filler to achieve an incredibly smooth, almost perfect surface on your car. It's about getting the most out of your bondo application, making sure every repair blends in seamlessly. This isn't just about filling a hole; it's about restoring the original lines and curves of the vehicle, which, you know, takes some skill.
Many folks think bondo is just for big dents, but it's also very useful for small imperfections. You might use it to smooth out an area after welding, for example, like where spot welds were removed from a battery tray. The goal is always to make the repaired spot look like it was never damaged at all, and that's where the idea of "reeming" or perfecting the bondo comes in.
It involves careful sanding, precise application, and a good eye for detail. The better you get at this, the more professional your final paint job will look. So, it's pretty much a fundamental skill for anyone serious about car restoration or custom painting, and it truly makes a difference in the finished product.
Why Proper Bondo Application Really Matters
Getting bondo on just right is very important for the longevity and appearance of your car's finish. If it's not applied correctly, you could end up with a bumpy surface, or worse, the filler might not stick properly and could crack or fall off later. That, is that, something nobody wants after putting in all that effort.
A good bondo job creates a stable foundation for the primer and paint that follow. Think of it as preparing a canvas for a painting; if the canvas isn't smooth, the painting won't look its best. This is especially true when you're aiming for a high-quality, show-car finish, where every ripple or imperfection would really stand out.
Furthermore, proper application helps prevent issues like bubbling or moisture getting trapped underneath, which can lead to rust or paint failure. So, taking the time to do it right the first time can save you from having to redo the work, which is, honestly, a huge time-saver.
Preparing Your Surface for Bondo
Before you even think about mixing up your body filler, getting the surface ready is absolutely key. This step is, arguably, just as important as the application itself. A clean, properly prepared surface ensures the bondo sticks well and lasts a long time.
Welding and Cleaning Up Metal
If you're dealing with areas that needed welding, like those holes where spot welds were removed from a battery tray, you'll want to make sure the metal is as clean and smooth as possible. Any rough edges or welding spatter can show through the bondo, or even prevent it from adhering correctly. So, a little grinding and cleaning here goes a long way, you know.
After welding, it's a good idea to remove any rust, grease, or old paint from the repair area. This creates a fresh, bare metal surface for the bondo to grip onto. Sometimes, a wire brush or sandpaper can get the job done, but for tougher spots, a grinding wheel might be necessary. It's about making sure there's nothing between the bondo and the metal that could cause problems later.
The Primer First Rule
A common question is whether to put bondo directly on bare metal or use a primer first. Many experienced folks will tell you to apply bondo first, or you will break through the primer when you sand it down. This is because bondo needs a good mechanical bond to the metal to hold strong. If you sand through a primer layer to get to the metal, you might compromise that bond.
However, some situations call for a different approach. If you're working on a very large area, or if the metal is particularly susceptible to flash rust, an epoxy primer can create an inert surface that bondo can stick to very well. Then, bondo will be applied to that inert surface, providing an extra layer of protection and adhesion. It really depends on the specific project and what you're trying to achieve.
When Bondo Goes Over Paint
You might wonder if it's ever okay to put bondo right over existing paint. When I worked in an auto body shop, we used to apply bondo over paint when it was determined that the paint was in good condition. This means the existing paint was well-adhered, not peeling, and provided a stable surface. It's not always necessary to strip everything down to bare metal, especially for minor touch-ups.
The key here is that the paint must be solid and clean. You'd typically scuff the area thoroughly to give the bondo something to grip onto. If the paint is flaky, cracked, or showing signs of failure, then putting bondo over it would be a bad idea, as the bondo would only be as strong as the weak paint underneath. So, you know, always check the condition of the existing finish very carefully.
Applying Bondo: Tips for a Smooth Finish
Once your surface is ready, it's time for the actual application of the body filler. This is where your technique truly comes into play. Getting a smooth finish requires patience and a good feel for the material, and it's, basically, a skill you develop over time.
Getting the Right Thickness
One common mistake is applying bondo too thick. While it can fill deep imperfections, excessive thickness can lead to problems like cracking or shrinking over time. I've seen areas, for example, where there is like 1/8 inch thickness of bondo on the driver's door right near the horizontal line/crease. This amount is generally acceptable for minor leveling.
The aim is to use the minimum amount necessary to achieve a level surface. You want to build up layers if needed, rather than putting on one very thick coat. This helps ensure proper curing and reduces the chance of future issues. It’s, you know, a bit like building up layers of paint; thin coats are usually better.
Working with Different Fillers
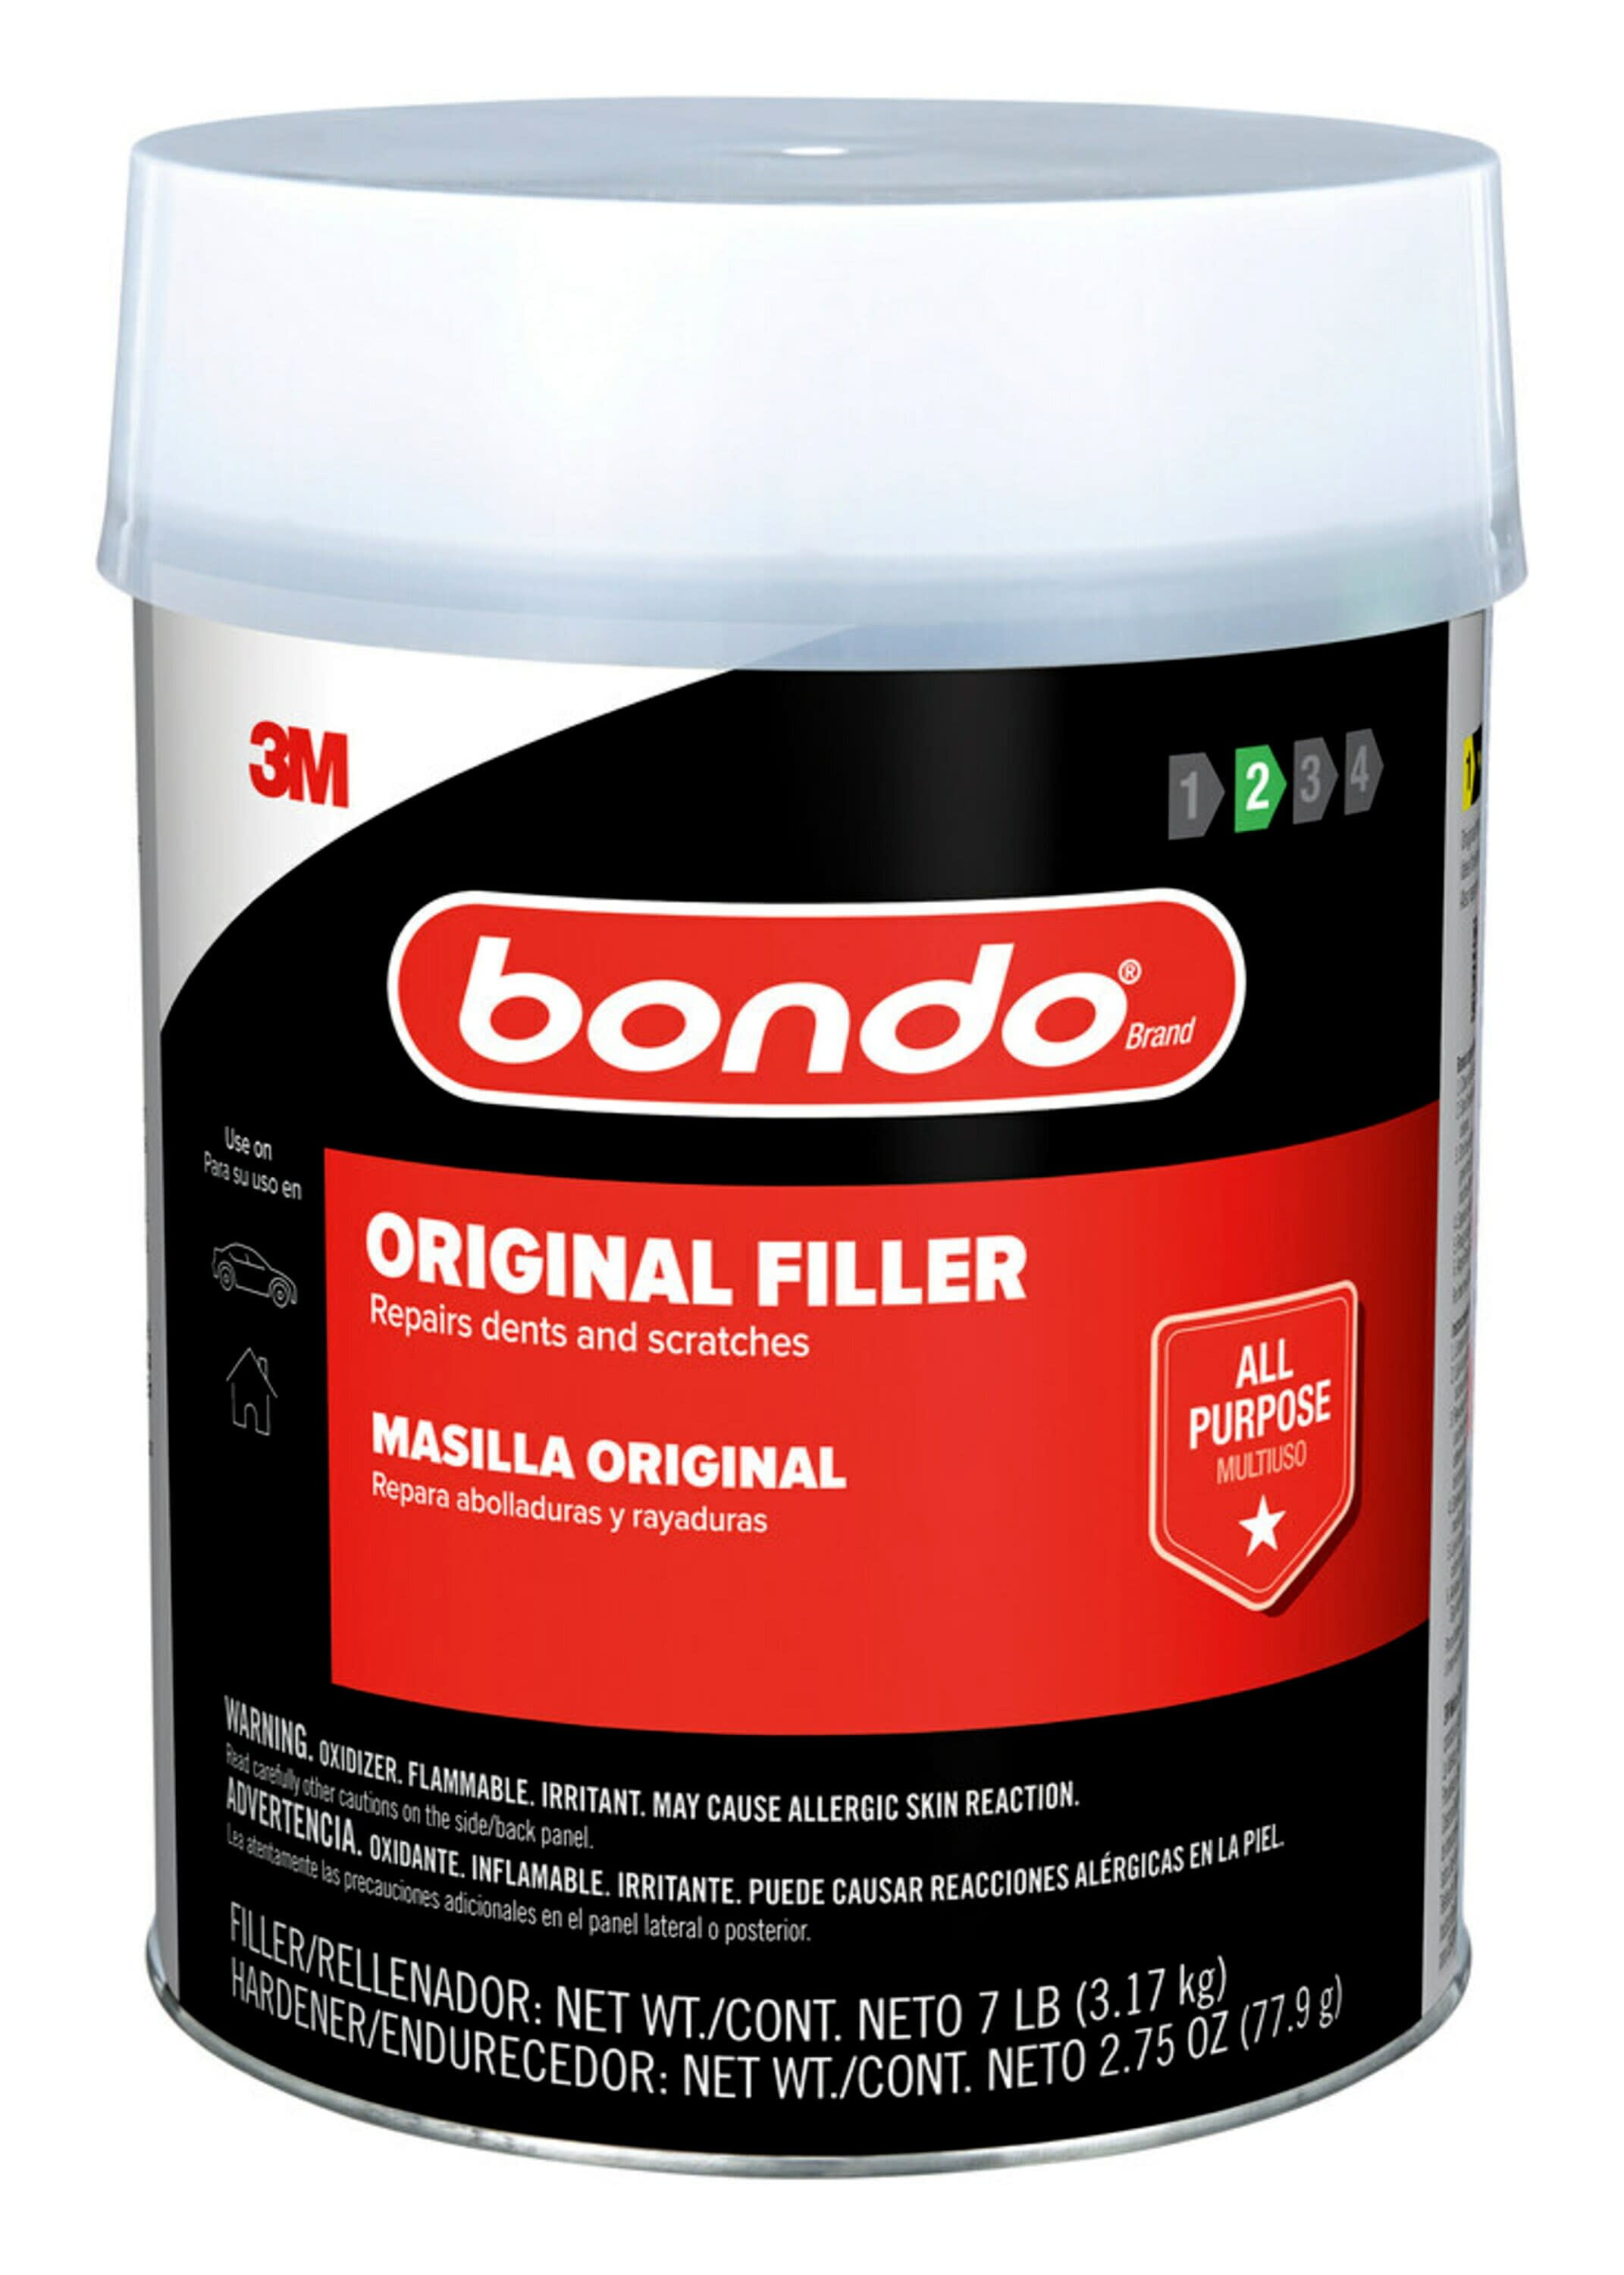
Not all body fillers are the same. While "bondo" is a common term, there are many specialized products out there. I use a lot of Napa brand fiberglass and specialized fillers, but they're expensive. I've used a few Evercoat products too, which are also quite popular among professionals. Each type might have slightly different working properties, like cure time or how easily it sands.
Some fillers are designed for strength, others for very fine finishing. Bondo simply doesn't run, other products do in heavy amounts, which is a great property for vertical surfaces. Understanding these differences can help you pick the right product for your specific repair. It's a bit like choosing the right tool for the job; the better the match, the easier the work will be, typically.
Avoiding Common Bondo Problems
There are a few pitfalls to watch out for when applying body filler. One of the biggest is trapping air bubbles, which can lead to pinholes in your final finish. Mixing the filler thoroughly but gently helps avoid this. Also, applying too much hardener can make the bondo cure too fast, making it hard to work with, while too little means it won't harden properly, so, you know, getting the ratio right is key.
Another issue is uneven application, which leads to more sanding later. Try to spread the bondo smoothly and evenly, feathering the edges into the surrounding metal. This makes the sanding process much simpler and helps you achieve that truly invisible repair. It's, honestly, all about practice and a steady hand.
Dealing with Bubbles and Break-Throughs
Even with the best intentions, sometimes things don't go perfectly. You might get a bubble, or you might sand through your primer or filler. The paint shop owner I know, he's an old-timer with 20+ years experience in this industry, insists that bondo will bubble up no matter what. While that might be a bit of an exaggeration, it does highlight that bubbles can be a persistent challenge.
If you notice small bubbles or pinholes after the bondo has cured, you can usually fill them with a very thin coat of glazing putty, which is a finer filler designed for minor imperfections. For larger bubbles, you might need to sand the area down and reapply the bondo.
If you break through the bondo or primer when you sand it down, you simply recoat those areas with epoxy prior to reapplying body filler. This ensures that the metal is protected and that the new filler has a solid surface to adhere to. It's not the end of the world if it happens; it's just part of the process of getting things right, more or less.
Frequently Asked Questions About Bondo
Can I put bondo over rust?
No, you should never apply bondo over rust. Rust will continue to spread underneath the filler, eventually causing the bondo to lift, crack, or bubble. Always remove all rust down to bare, clean metal before applying any body filler. This is, actually, a very important step for a lasting repair.
How long does bondo take to dry?
The drying time for bondo, or body filler, depends on several factors, including the amount of hardener used, the ambient temperature, and humidity. Typically, bondo will be ready to sand within 20 to 30 minutes at room temperature. Always check the product's specific instructions for the most accurate curing times, but, you know, it's usually pretty quick.
What happens if you apply bondo too thick?
Applying bondo too thick can lead to several problems. It might not cure properly all the way through, leading to soft spots. It can also crack, shrink, or delaminate over time, especially with temperature changes. It's always best to build up layers in thin coats rather than one very thick application, which, arguably, gives a much stronger finish.
Ready to Tackle Your Next Autobody Project?
Understanding "bondo reems" means knowing how to use body filler effectively to achieve truly smooth, professional-looking results on your vehicle. From preparing the surface to applying the filler with the right thickness, every step plays a role in the final outcome. Remember, practice really does make perfect when it comes to bodywork, and taking your time will yield much better results, you know.
Whether you're fixing a small ding or tackling a larger repair, the principles remain the same. A well-executed bondo job is the foundation for a flawless paint finish, making all your hard work shine through. So, get your tools ready and start transforming those imperfections into smooth, beautiful surfaces.
Learn more about autobody and paint on our site, and find more tips on car repair projects to help you along your way. You can also explore various autobody repair basics from trusted sources to broaden your skills.
Related Resources:

Detail Author:
- Name : Roman Wyman
- Username : qsporer
- Email : reagan60@stanton.com
- Birthdate : 1997-04-13
- Address : 98340 Karina Stream West Germaine, MA 40596-8114
- Phone : 331.741.6672
- Company : Hoppe-Barton
- Job : Washing Equipment Operator
- Bio : Qui velit consequatur ullam iste impedit quaerat et. Provident aut ab officia repellendus. Fugiat quos et eos qui quis. Odio qui quasi eum culpa assumenda.
Socials
twitter:
- url : https://twitter.com/anita.klein
- username : anita.klein
- bio : Quod sit veniam et. Vel unde reprehenderit qui atque natus minus libero. Inventore voluptatem asperiores id eligendi. Fugit error et quis nesciunt autem illum.
- followers : 6800
- following : 1636
instagram:
- url : https://instagram.com/anita_dev
- username : anita_dev
- bio : Assumenda eligendi dolorum ipsum voluptas. Est libero voluptatem maxime iste.
- followers : 5490
- following : 1474
linkedin:
- url : https://linkedin.com/in/klein2023
- username : klein2023
- bio : Beatae quod dignissimos autem et enim nobis.
- followers : 4187
- following : 273
facebook:
- url : https://facebook.com/anita_klein
- username : anita_klein
- bio : Laudantium laboriosam voluptatem similique et nulla saepe.
- followers : 5195
- following : 2529
